5 Steps to Get The Details Right
Posted on 2018-02-26 08:22:29
5 Steps to Get The Details Right

When creating a mosaic, there are areas you will need to pay special attention to in order to get the right fit as well as the right shape.
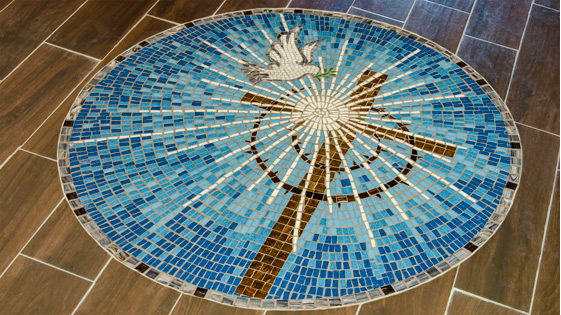
Here's a project I created where I needed to transform square tiles into dove feathers. They needed to be small, tight fitting, smooth pieces.
I was working over a pattern so I used 3/4" vitreous tiles to create each tail feather. The steps I took are noted below:
Step 1 – The first thing I do is I hold each tile over the area I want it to fit into so I can "eyeball" the size and shape I want it to be.
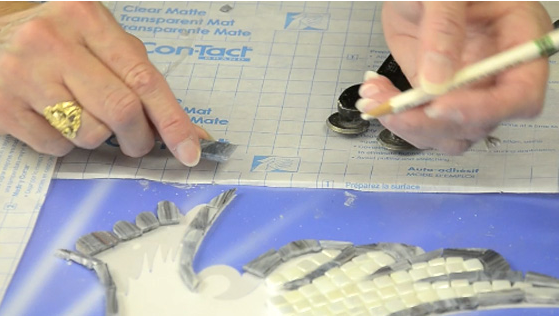
Step 2 – The second step is to mark right on your tile where you need to cut it. I like to use Stabilo pencils to mark on my glass. They come in different colors so you have color choices depending on the color of your glass. In this case, I used white to mark on my dark gray tiles.
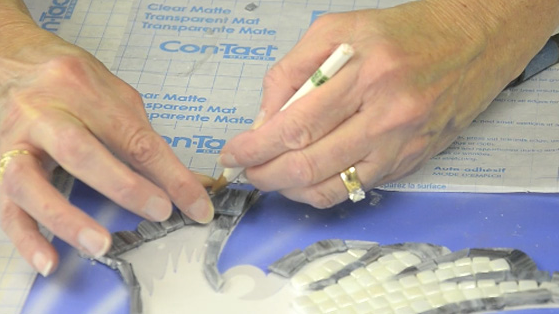
Step 3 - Use your nippers and cut away the glass you don't need. You may need to nibble away some of the glass to get those tiny areas to fit.
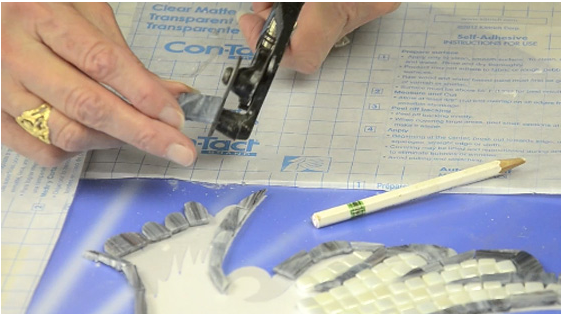
Step 4 - Check to see if your piece will fit. If you need more glass removed, make those additional cuts with your nippers.
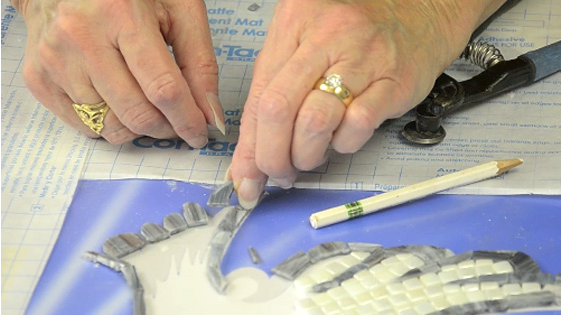
Step 5 - My final step before gluing the tile down is to use my glass grinder to smooth the edges for a really nice, detailed look.
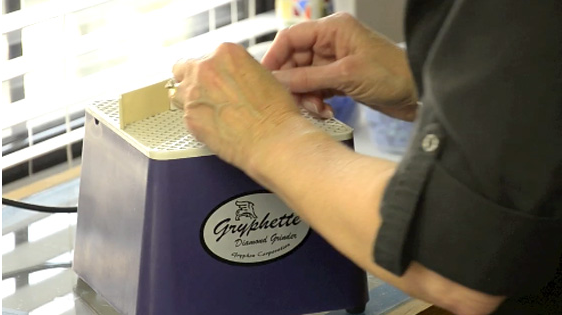
Now you're ready to glue your piece down into place. This process is very easy and works great if you follow these steps. Practice eyeballing each piece for that great fit and if you can't get it right the first time, just grab another tile and start again. You'll be much happier with your end result if you take your time and get it right!
Please follow us and get the latest news.
Hope it can help you build your relaxing and wonderful life~
PS:Reproduces the article from
http://www.i-c-mosaics.com/blog/5-steps-get-details-right.html?utm_content=buffer7ae13&utm_medium=social&utm_source=pinterest.com&utm_campaign=buffer#.WpNYNePRS1V